Tuesday, February 26, 2008

Was It Worth It?

After all the effort of making Chicken Stock with chicken feet, I wanted to see if it was really worth all the effort. I decided a simple chicken stock focused soup would really be the litmus test, plus Cooks Illustrated printed a "Soups and Stews" issue that just happened to have a recipe to fit that order. Egg Drop Soup.
I’ve never made egg drop soup and they made it look very easy; soup in 20 minutes. So, away we goooooo…

I started with:

2 quarts chicken stock (I used 1 quart of "gelled" concentrated, chicken feet stock and added 1 quart of water)
1 inch of peeled and smashed fresh ginger
2 scallions, smashed lightly


Place the stock, ginger, and smashed scallions over med/high heat and bring to a simmer. Simmer for 15 minutes. The ginger and scallions really help build layers of flavor for the broth. This smelled wonderful.

Next, fish out the scallions and ginger.


Add 1 tablespoon of soy sauce, 2 tablespoons of cornstarch mixed with 2 tablespoons of water, and salt to taste. Bring back to a simmer and thicken slightly. Then add 3 more minced scallions.


The cornstarch helps thicken the soup so the egg does not sink to the bottom. At first, I didn’t think I would need a thickener, but as the stock heated and thinned from its "gel" stage, it did need something extra.

Last, you will need 4 beaten eggs. Whisk the broth so that it is moving in a strong circle. Add the eggs in one slow, steady stream so that ribbons of coagulated egg form. Let eggs stand in broth WITHOUT mixing until they are set, about 1 minute, then break up with a fork.

If you add the eggs all at one time, you will end up with one big, eggy blob.


And here is the final result with an egg roll and noodles. This was lunch today. YUMMMY!!


Was it all worth it? For a soup like this, abso-friggin-lutely!

DH said the soup was very rich and smooth, and it did have a wonderful mouthfeel and flavor. He commented that he liked that it wasn't greasy like some egg drop soup orders you get in restaurants.

If I just needed a basic chicken stock for something that would really mask its flavor, like adding to a stuffing recipe or making a cream-based soup, I wouldn't use this chicken feet stock at all; I would use the basic stuff that I regularly make with chicken bones or carcasses.

Sigh.

Monday, February 11, 2008

Why Did the Chicken Cross the Road?

So you wouldn’t wack off its feet and make chicken stock!

This past week, I was surfing through a few of my favorite foodie bloggers and stumbled upon Elise’s site at Simply Recipes. Elise decided to make a big-ol’-batch of chicken stock using chicken feet. What?!! I must know more!

Apparently, back in the day, our grandmothers and maybe even some of our current family swear by chicken stock made with chicken feet. One of my friends over at the Cooking Forum mentioned that her grandma used “everything on the chicken except the cluck,” and from what I’ve read, chicken feet make the richest, most flavorful thing you’ve ever had in the way of chicken stock. So, of course I HAD to give this experiment a try.

After explaining to hubby just WHY I had to find some chicken feet, we were on a mission. Where do you buy chicken feet, you might ask? Well, we are lucky to have a diverse ethnic population here in the city beautiful known as Orlando. Most self-respecting Asian or Latin grocery will carry chicken feet. Apparently, they’ve known all about the wonders of feet for some time. I also love going to Asian groceries, as I can find the neatest things there. I got a bargain on some black rice vinegar and dark sesame oil, which will be used for something tasty in the future; I’m sure.

According to Elise, 2 pounds of feet was called for in her recipe, so 2 pounds we bought. First, though, you must have some fun with your food:

Little Birdy’s Dirty Feet

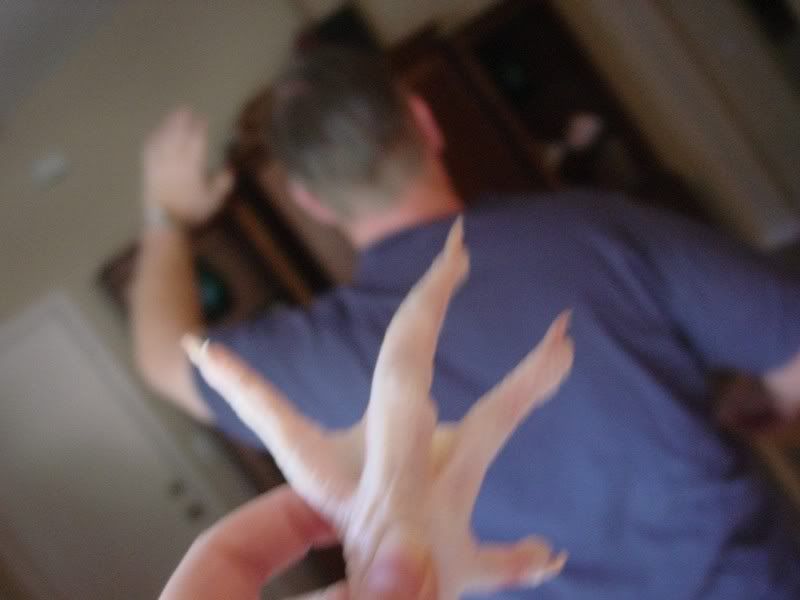
If in the proximity of a chicken foot, feel free to chase your spouse, children, pets, neighbors, etc. around the house while screaming “Yarrrr! Yarrr!” (clucking just doesn’t have the same effect).

Hey, did you know if you pull the little tendon thingie at the place were the foot was whacked, you can make the chicken foot “wave”? Fun times!

Photobucket

Down To Business

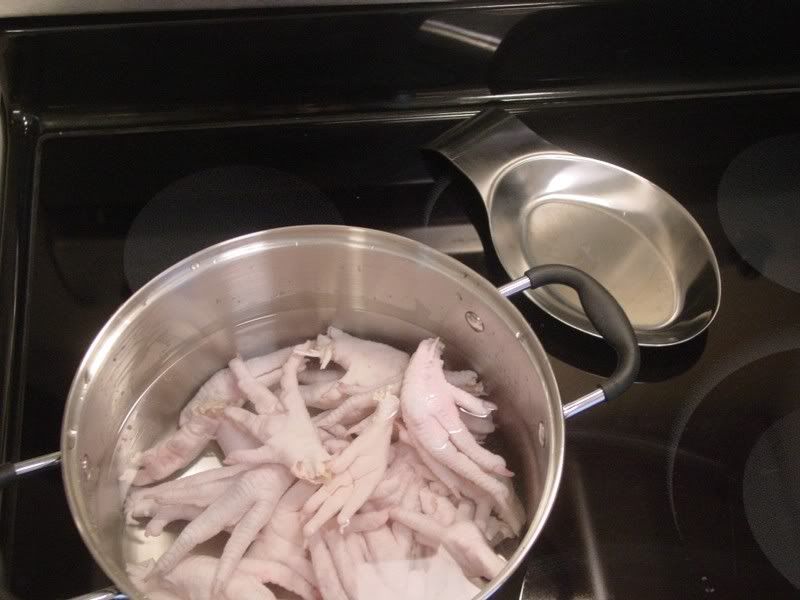
Next, you rinse the little pink things off and place them in a pot of water for an intial boil. Boil for 5 minutes, skimming any foam/scum off the top. Drain water and rinse feet under cold water till cool enough to handle.

Photobucket

Una Manicura

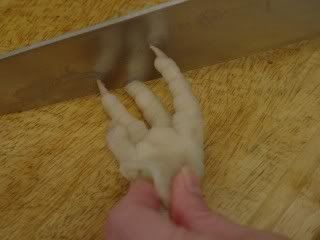
After their initial boil, the claws need to be chopped off. This allows the collagen in the feet/bones to seep into your stock, making it wonderfully rich and flavorful.

Photobucket

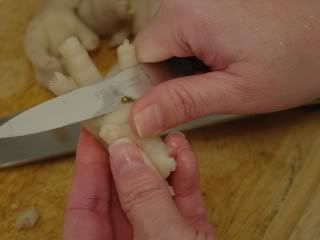
Hey, did you know chickens get callouses? These need to be sliced off too. I wonder if there are little chicken podiatrists out there?

Photobucket

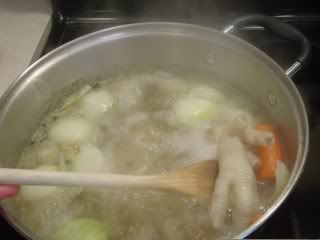
After that, it all goes back into a pot of clean, cold water. Add enough water to cover about 2-3 inches. Add 2 quartered onions, 2 cut-up carrots, 2 cut-up celery stalks, 2 bay leaves, a tablespoon of peppercorns, and a tablespoon of dried thyme. Bring to a boil, then leave at a gentle simmer. Place a lid on the pot (leave a small gap for evaporation) and simmer for 4 hours.

Photobucket

Liquid Gold!

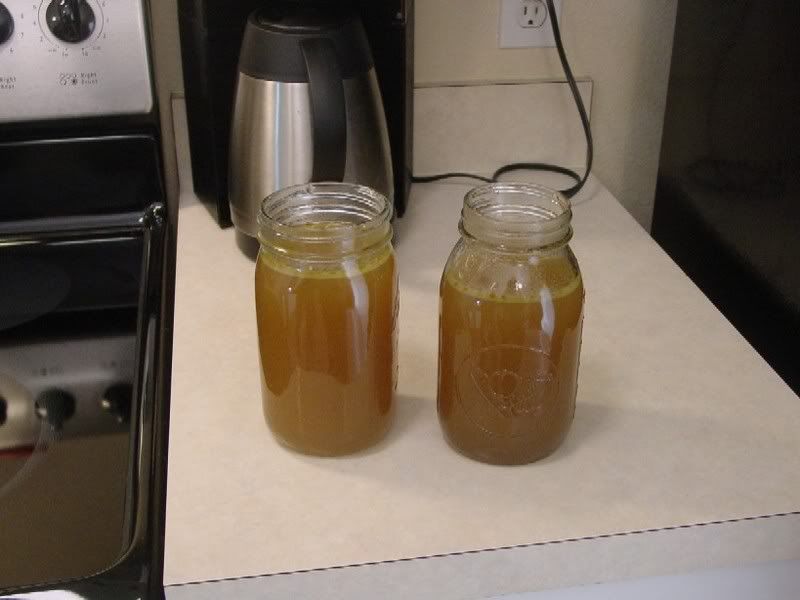
After 4 hours of simmering, remove lid and simmer for another hour to concentrate the stock. Strain stock, and refridgerate. This made 2 quarts, but it is very concentrated and luxuriously rich. I took a taste of it when it was still warm and it was like chicken flavored liquid butter (but without the fat).

Photobucket

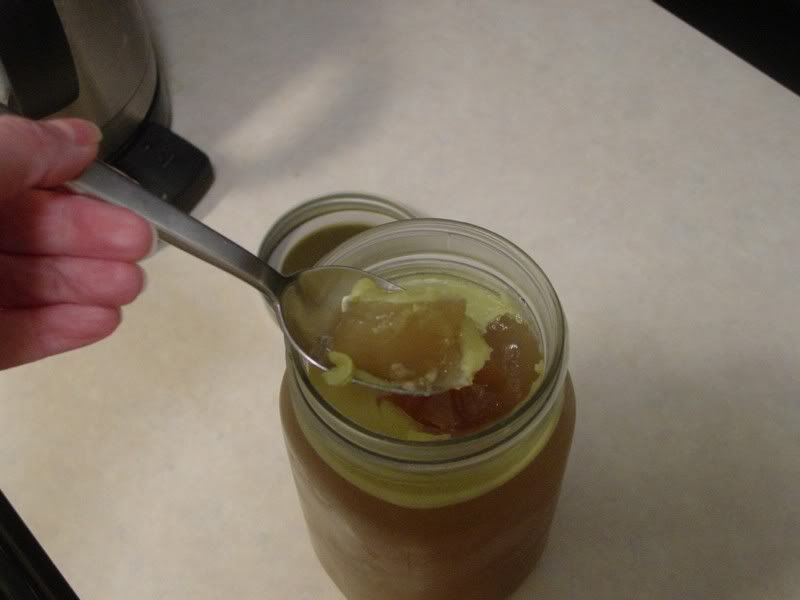
After chilling, I have "chicken jello". This will be made into an awesome Egg Drop Soup later this week.

Photobucket

Thursday, February 07, 2008

How to Use a Pressure Cooker: Sweet and Sour Chicken

I’ve really dug my pressure cooker lately, although it has been extremely finicky. It seems I have to twist and adjust the lid an annoying amount of times to get it to seal and come to pressure. I’ve also noticed it’s a lot easier to find that “sweet spot” once the lid/sealing ring has had a chance to heat up a bit. Sigh, nothing is as easy as it seems. It’s a Fagor Rapida and a pain in the behind.

On the other hand, once I do get it to come to pressure, I’ve loved the results. Last week, I made an awesome Sweet and Sour Chicken in 8 minutes! I found the recipe on the Presto website, and their pressure cookers are looking better and better everyday. I already have one of their pressure canners and have found it to be very easy to use. Hmmmm…

Anywho, this is a great tasting dish, and I’m sure it could be easily adapted for conventional cooking. It was great over white rice and reheats fabulously. The other thing I really liked about this recipe was the idea that I could add so many other vegetables besides the peppers and celery. Next time, I’ll try some baby corn and some water chestnuts. Yum!

Sweet 'n Sour Chicken
Recipe source: Presto website

1 (3-pound) chicken, cut up (I used about 4-5 frozen chicken breasts cut into bite-sized cubes)
1 tablespoon vegetable or olive oil
1/2 cup sliced celery
1 green or red pepper, cut into chunks (I used 2)
1 (20-ounce) can pineapple chunks, drained and juice reserved
1 cup reserved pineapple juice (add water if necessary)
1/4 cup brown sugar
1/2 cup vinegar
2 tablespoons soy sauce
1 tablespoon catsup
1/2 teaspoon Worcestershire sauce
1/4 teaspoon ground ginger
2 tablespoons cornstarch
2 tablespoons cold water

Heat oil in a 4- or 6-quart pressure cooker. Brown chicken a few pieces at a time; set aside. Return all chicken to pressure cooker (or regular sauté/saucepan); add celery and green pepper. Combine pineapple juice, brown sugar, vinegar, soy sauce, catsup, Worcestershire sauce, and ginger; pour over chicken. Close pressure cooker cover securely. Bring pressure cooker up to pressure. When at pressure, lower heat to low and cook for 8 minutes. If you are not using a pressure cooker and are making this in a sauté/saucepan, bring to a boil then simmer for 25 minutes.

At the end of 8 minutes, remove pressure cooker from heating element and perform a quick pressure release. Remove chicken and vegetables to a warm platter (I didn’t bother to do this). Mix cornstarch with cold water and blend into hot liquid/sauce in the pressure cooker. Cook and stir over med-high heat until mixture boils and thickens. Add pineapple chunks and heat. Pour sauce over chicken. Serve with rice. Makes 4 to 6 servings
 

design + development by kelly christine studio